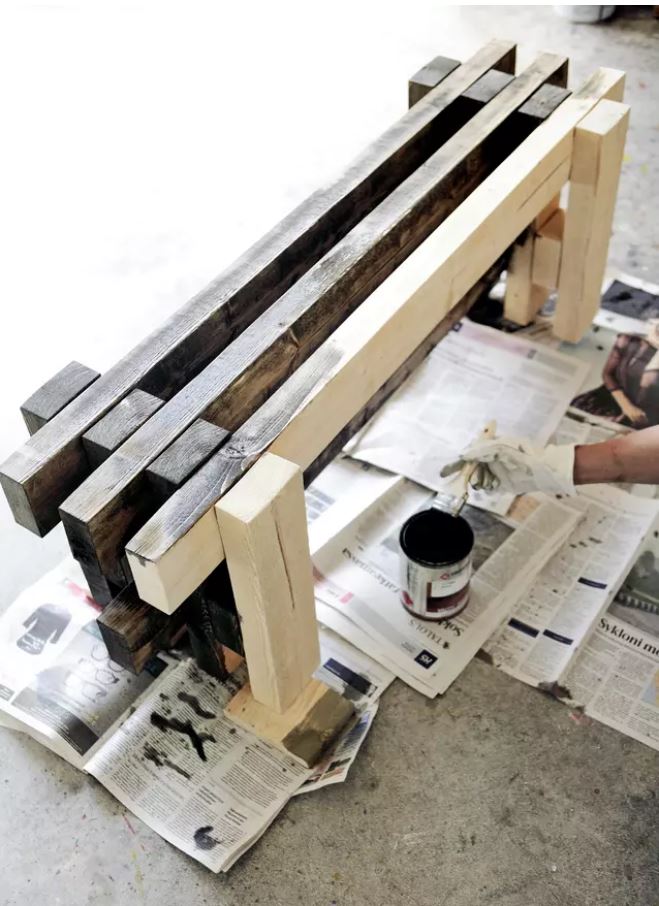
Make your own bench from lumber


Do it yourself
Make your own bench from lumber
A sturdy bench is perfect for a cottage yard or even a sauna. Water doesn’t collect on the bench, but flows between the planks to the ground.
The entire bench is made from the same lumber. The thick wood makes the simple and straight structure sturdy. You can also make a longer bench with the same structure, and it is also easy to increase the depth of the seat. The bench is neat, as the only visible screws are on the back of the bench.
Choose stainless screws for your outdoor bench and treat the finished bench with outdoor furniture paint or tinted wood oil.
The dimensions of the model bench are 120 cm (length), 35 cm (width) and 42 cm (height).
Supplies:
- sawn 50 × 100 mm timber, 10 m
- stainless countersunk head screws, 5 × 80 mm, 50 pcs required
- tinted wood oil, for example Tikkurila Valtti Wood Oil (shade Siimes)
- saw
- drill and screwdriver
- a pair of long pliers
- coarse sandpaper
- tape measure, straightedge and pencil
- brush.
Supplies total about 65 euros.
Instructions for making a bench

1. Cut 120 cm long bench boards (4 pieces), 42 cm long legs (8 pieces) and 10 cm long pieces (4 pieces). Wipe the sawn edges clean with coarse sandpaper. Outline the structure of the bench on the floor using two long clamps. In the picture, the bench is upside down.

2. Attach the first seat plank to the front legs from the back, so that no screws are visible on the front. Place the leg and plank at a right angle, drill holes for the screws and attach them to each other with four screws. Do the same at the other end. Attach the small square pieces to the bottom with two diagonally placed screws. Use the other piece to measure the distance from the end of the leg.

3. Attach the other leg with two screws placed diagonally to each other. Align the screws on the top side slightly inside the screws below so that the screws to be attached do not hit the screws below. Place the screws on the bottom side at opposite angles to the screws below.

4. Add a long crossbar in the next space instead of the small pieces. Always attach with two screws that come at different angles to the screws below. Continue attaching the legs. Use a square to make sure the wood lines up with the previous ones.

5. Attach the rear legs near the seat shown below with four screws and the footrests with two screws.

6. Protect the bench that will be used outdoors with a tinted wood oil that leaves the wood grain visible. Let the ends of the legs that will be on the ground absorb as much oil as possible, for example by briefly lifting one leg at a time into a jar of oil. A bench that will be used in a sauna can be treated with a tinted sauna protection.